
Deleting photos from your Mac can be a daunting task, especially if you’re worried about losing them forever. Fortunately, with iCloud, you can easily delete photos from your Mac and still have them safely stored in the cloud. In this article, we’ll show you how to delete photos from your Mac and preserve them in iCloud.
One of the easiest ways to delete photos from your Mac is to use the Photos app. Simply open the app and select the photos you want to delete. You can do this by holding down the Command key and clicking on each photo, or by selecting multiple photos at once using the Shift key. Once you’ve selected the photos, right-click and choose “Delete” from the menu. You can also use the keyboard shortcut Command + Delete to delete the selected photos. Don’t worry, deleting photos from your Mac does not mean they will be deleted from iCloud.
By default, when you delete photos from your Mac, they will be moved to the “Recently Deleted” folder in the Photos app. This folder acts as a temporary storage for deleted photos, allowing you to recover them if needed. However, it’s important to note that photos in the “Recently Deleted” folder will still take up storage space on your Mac. If you want to free up storage space on your Mac and preserve your photos in iCloud, you’ll need to permanently delete them.
To permanently delete photos from your Mac and preserve them in iCloud, you’ll need to empty the “Recently Deleted” folder. Open the Photos app, click on the “Recently Deleted” album in the sidebar, and then click on the “Delete All” button in the upper right corner. Confirm the deletion by clicking “Delete” in the pop-up window. Once you’ve emptied the “Recently Deleted” folder, the photos will be removed from your Mac and iCloud will remain as the storage location for your photos.
Method to Delete Photos from Mac and Preserve Them in iCloud
If you want to delete photos from your Mac but still keep them stored in your iCloud account, you can follow these steps:
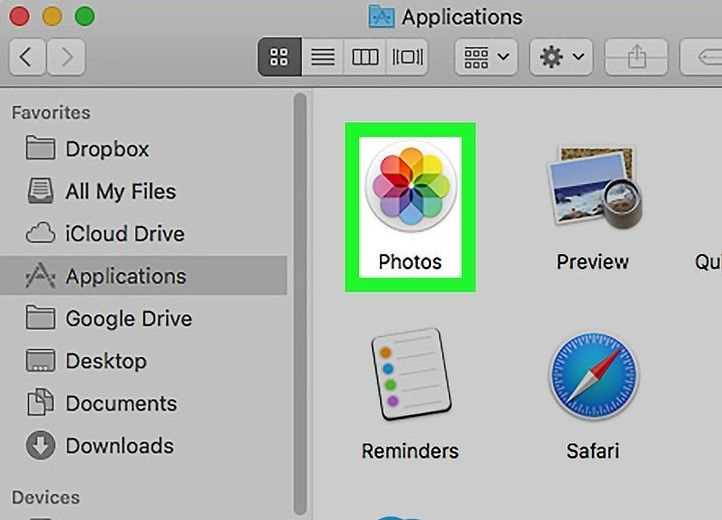
- Open the Photos app on your Mac.
- Select the photos you want to delete. You can hold down the Command key and click on multiple photos to select them.
- Once you have selected the photos, go to the “File” menu and choose “Export” or use the keyboard shortcut Command + Shift + E.
- In the export window, choose the location where you want to save the exported photos. You can create a new folder to keep them organized if needed.
- Make sure the “Export IPTC as XMP” and “Export location data” options are unchecked, as they are not necessary for this process.
- Click on the “Export” button to start the export process. The selected photos will be saved as individual files in the chosen location.
- After the export is complete, go back to the Photos app and select the photos you exported.
- Press the Delete key on your keyboard to remove the selected photos from your Mac.
- A confirmation dialog will appear asking if you want to delete the photos. Make sure to select the “Remove from Mac” option and leave the “Delete Everywhere” option unchecked.
- Click on the “Delete” button to delete the photos from your Mac. The photos will be moved to the “Recently Deleted” album in the Photos app.
By following these steps, you can delete photos from your Mac and preserve them in your iCloud account. This way, you can free up storage space on your Mac while still having access to your photos from other devices through iCloud.
Step 1: Sign in to iCloud
To delete your photos from your Mac and preserve them in iCloud, you’ll need to first sign in to your iCloud account. Here are the steps to do so:
- Open a web browser on your Mac.
- Go to the iCloud website by typing “icloud.com” in the address bar and pressing Enter.
- Enter your Apple ID and password in the provided fields, and then click the arrow icon or press Enter to sign in.
- If you have two-factor authentication enabled for your Apple ID, you may need to enter a verification code sent to your trusted device or phone number.
Once you’ve successfully signed in to iCloud, you’ll have access to your iCloud Photos library and can proceed to the next step in deleting your photos from your Mac while preserving them in iCloud.
Step 2: Enable iCloud Photos
Once you have signed in to your iCloud account on your Mac, you can proceed to enable iCloud Photos to preserve your photos.
- Go to the Apple menu on your Mac and click on “System Preferences”.
- In the System Preferences window, click on “Apple ID”.
- On the left side of the Apple ID window, click on “iCloud”.
- Scroll down until you find the “Photos” option and click on it.
- In the Photos window, check the box next to “iCloud Photos”.
- You can also choose whether you want to optimize your Mac storage by checking the box next to “Optimize Mac Storage”. This option will automatically store your full-resolution photos and videos in iCloud, while keeping smaller versions on your Mac to save space.
- Click on the “Options” button next to “iCloud Photos” to customize additional settings, such as whether to download and keep original photos and videos on your Mac.
- Once you have enabled iCloud Photos and customized the settings, click on the “Done” button to save the changes.
By enabling iCloud Photos, your Mac will automatically sync your photos with your iCloud account, allowing you to access them from other devices and preserving them even if you delete them from your Mac.
Step 3: Transfer Photos to iCloud
After you have organized and selected the photos you want to delete from your Mac, it’s time to transfer them to iCloud. This will ensure that your photos are safely stored and accessible from all of your devices.
To transfer photos to iCloud, follow these steps:
- Open the Photos app on your Mac.
- Click on “Photos” in the top left corner of the menu bar.
- Select “Preferences” from the drop-down menu.
- In the “General” tab, make sure the “iCloud Photos” option is checked.
- Click on the “Options” button next to “iCloud Photos”.
- In the pop-up window, check the box next to “Optimize Mac Storage”. This will automatically offload full-resolution photos and videos from your Mac, saving storage space.
- Click on “Done” to save the changes.
Once you have followed these steps, the Photos app will start transferring your selected photos to iCloud. This process may take some time, depending on the size of the photos and your internet connection speed.
Once the transfer is complete, you can access your photos from any device with iCloud Photo Library enabled. Simply open the Photos app on your iPhone, iPad, or another Mac, and your photos will be available for viewing and sharing.
Step 4: Verify Photo Backup
After deleting photos from your Mac, it’s important to verify that they have been successfully backed up to iCloud. Follow these steps to ensure that your photos are safely stored in iCloud:
- Open the Photos app on your Mac.
- Click on the “Photos” tab in the top navigation menu.
- Scroll through your photo library to ensure that the deleted photos are no longer visible. If they still appear, the photos may not have finished uploading to iCloud.
- Click on the “Preferences” option in the top navigation menu.
- Go to the “iCloud” tab and check that the “iCloud Photos” option is enabled.
- Click on the “Options” button next to “iCloud Photos”.
- In the iCloud Photos options window, make sure that the “Download Originals to this Mac” option is disabled. This ensures that the photos are stored in iCloud and not taking up space on your Mac.
- Check the progress bar at the bottom of the Photos app to see if all your photos have been uploaded to iCloud. If not, wait for the upload to complete.
By following these steps, you can be confident that your photos have been successfully backed up to iCloud and are accessible across all of your devices.
Step 5: Delete Photos from Mac
After ensuring that your photos are safely stored in iCloud, you can proceed to delete them from your Mac. Follow these simple steps to delete photos:
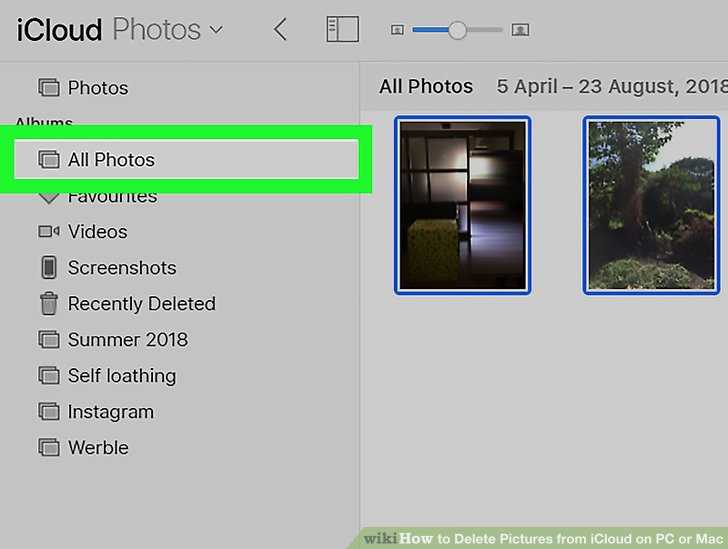
- Open the Photos app on your Mac.
- In the left sidebar, select the “Photos” tab to view all your photos.
- Click on the first photo you want to delete.
- Hold down the “Command” key on your keyboard while selecting additional photos you want to delete. This allows you to select multiple photos at once.
- Once you have selected all the photos you want to delete, press the “Delete” key on your keyboard.
- A confirmation dialog will appear asking if you want to delete the selected photos. Click on the “Delete Photos” button to confirm.
- The selected photos will now be moved to the “Recently Deleted” folder in the Photos app.
- To permanently delete the photos and free up storage space on your Mac, open the “Recently Deleted” folder.
- Click on the “Delete All” button located in the top-right corner of the window.
- A final confirmation dialog will appear. Click on the “Delete” button to permanently remove the photos from your Mac.
By following these steps, you will successfully delete your photos from your Mac while preserving them in iCloud. Remember to regularly check your iCloud storage and manage it properly to ensure you have enough space for your photos and other important files.
Step 6: Free Up Storage Space
Once you have deleted the unnecessary photos from your Mac and ensured that they are safely preserved in iCloud, it’s time to free up storage space on your device. This will help improve the performance of your Mac and ensure that you have adequate storage for your needs.
Here are some steps you can take to free up storage space on your Mac:
- Empty the Trash: Make sure to empty the Trash on your Mac. Deleted photos, as well as other files, are stored in the Trash until you empty it. To empty the Trash, right-click on the Trash icon in the Dock and select “Empty Trash.”
- Remove Downloads: Go through your Downloads folder and delete any files that you no longer need. This folder can accumulate a lot of unnecessary files over time.
- Uninstall Unused Apps: Review the applications installed on your Mac and uninstall any apps that you no longer use. To uninstall an app, simply drag it from the Applications folder to the Trash.
- Delete Unnecessary Files: Take some time to go through your Documents, Desktop, and other folders to identify any unnecessary files that can be deleted. Be cautious when deleting files and make sure you know what you’re deleting.
- Use Optimized Storage: Mac OS provides an optimized storage feature that automatically offloads files, such as movies and TV shows, that you have already watched. This helps free up storage space on your device. To enable this feature, go to the Apple menu, select “About This Mac,” then click on “Storage” and “Manage.”
- Use Cloud Storage: Consider using cloud storage services like iCloud Drive, Dropbox, or Google Drive to store your files and photos. This will offload them from your Mac and free up storage space.
By following these steps, you can effectively free up storage space on your Mac and ensure that you have sufficient space for new photos and files. This will help keep your Mac running smoothly and efficiently.
FAQ:
Can I delete photos from my Mac and still keep them in iCloud?
Yes, you can delete photos from your Mac and still keep them in iCloud. By enabling the “Optimize Mac Storage” feature in iCloud Photo Library, your original photos will be safely stored in iCloud while only low-resolution versions are kept on your Mac.
How can I delete photos from my Mac without deleting them from iCloud?
To delete photos from your Mac without deleting them from iCloud, you need to enable the “Optimize Mac Storage” feature in iCloud Photo Library. This will automatically move your original photos to iCloud while keeping only low-resolution versions on your Mac. You can then safely delete the photos from your Mac without affecting your iCloud storage.
What happens if I delete photos from my Mac before enabling iCloud Photo Library?
If you delete photos from your Mac before enabling iCloud Photo Library, they will be permanently deleted from your device and iCloud. It is recommended to enable iCloud Photo Library before deleting any photos to ensure they are safely stored in the cloud.
Is it possible to delete photos from my Mac and iCloud at the same time?
Yes, it is possible to delete photos from both your Mac and iCloud at the same time. By simply deleting the photos from your Photos app on your Mac, they will be removed from both your device and iCloud. It is important to note that deleting photos from iCloud will also delete them from all other devices connected to the same iCloud account.