
Google Play Music is a popular streaming service that allows users to listen to their favorite songs and create personalized playlists. Whether you want to curate a workout playlist or compile a collection of relaxing tunes, Google Play makes it easy to organize and access your music. In this step-by-step guide, we will walk you through the process of creating a playlist in Google Play, so you can enjoy your favorite songs anytime, anywhere.
To start creating your playlist, open the Google Play Music app on your device. If you don’t have the app installed, you can download it from the Google Play Store. Once you have the app open, navigate to the “Library” tab at the bottom of the screen.
Next, select the “Playlists” option from the Library menu. This will take you to a page where you can view all of your current playlists and create new ones. To create a new playlist, tap on the “New Playlist” button.
Now, you can give your playlist a name by typing it in the text box provided. Be sure to choose a name that reflects the theme or mood of the songs you plan to add. Once you have entered a name, tap the “Create” button to create your playlist.
With your playlist created, it’s time to start adding songs. To add a song to your playlist, simply search for the song in the Google Play Music library and tap on it. This will open a menu with several options, including “Add to playlist.” Tap on this option, and then select the playlist you want to add the song to.
Continue adding songs to your playlist until you are satisfied with the selection. You can rearrange the order of the songs by tapping and holding on a song and dragging it to a new position. Once you have finished adding and arranging songs, your playlist is ready to go! You can access it anytime by going back to the “Library” tab and selecting the “Playlists” option.
Creating a playlist in Google Play is a simple way to keep your favorite songs organized and easily accessible. Whether you want to create a playlist for a specific occasion or just for your everyday listening pleasure, the steps outlined in this guide will help you create the perfect playlist in no time.
Step 1: Open Google Play Music
To create a playlist in Google Play Music, you first need to open the application on your device. Follow these steps to open Google Play Music:
- On your device, locate the Google Play Music app. The app icon typically looks like a colorful musical note on a white background.
- Tap on the app icon to open Google Play Music. Take note that this may take a few seconds depending on your device and internet connection.
- If prompted, sign in to your Google account. This step is necessary to access your personalized music library and create playlists.
- Once you are signed in, you will be taken to the Google Play Music home screen. From here, you can proceed to the next steps to create your playlist.
Step 2: Navigate to “Your Library”
After opening the Google Play Music app on your device, you will find yourself on the “Home” tab by default. To access your library, follow the steps below:
- Tap on the three horizontal lines in the top-left corner of the screen to open the main menu.
- In the main menu, select “Your Library” from the list of options.
Once you have navigated to “Your Library,” you will be able to view all the music you have added or purchased on Google Play. This includes albums, songs, artists, and playlists that are part of your collection.
By accessing your library, you can easily manage and organize your music to create the perfect playlist tailored to your preferences.
Step 3: Create a New Playlist
Now that you have logged into your Google Play Music account and accessed the app, it’s time to create a new playlist. Follow these steps:
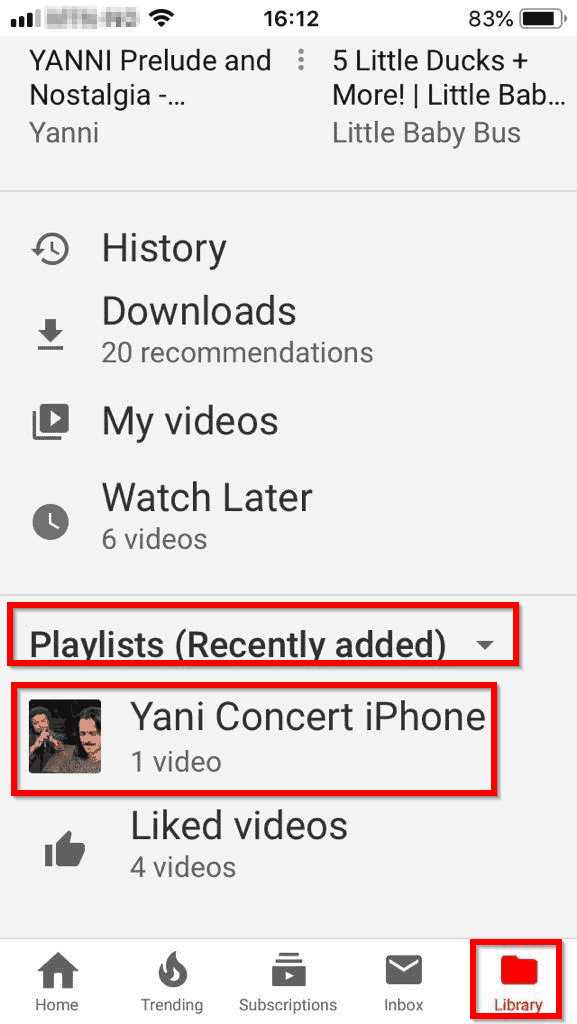
- On the left-hand side menu, locate and click on the “Library” tab.
- From the library options, select “Playlists.”
- Next, click on the “New Playlist” button located at the top right corner of the screen.
- A dialog box will appear, prompting you to enter a name for your playlist. Type in a descriptive title for your playlist.
- Once you have entered a name for your playlist, click on the “Create” button.
Congratulations! You have successfully created a new playlist in Google Play Music. Now it’s time to add some songs to your playlist in the next step.
Step 4: Name Your Playlist
Once you have added all the songs you want to include in your playlist, the next step is to name it. Giving your playlist a meaningful name can help you easily identify it in your library and makes it more enjoyable to listen to. Here’s how to name your playlist:
- Click on the text field at the top of the playlist page where it says “Untitled playlist”.
- Type in a name for your playlist. You can be as creative as you want, but it’s helpful to choose a name that reflects the theme or mood of the songs.
- Press Enter or click outside the text field to save the name.
It’s worth spending a little time thinking about the name of your playlist, as it can make it more fun to share with friends or discover later on. Remember, you can always go back and change the name of your playlist if you come up with a better idea!
Step 5: Add Songs to Your Playlist
To add songs to your playlist in Google Play, follow these simple steps:
- Open the Google Play Music app on your device.
- Navigate to the playlist you want to add songs to. You can find your playlists by tapping on the “Library” tab and selecting “Playlists” from the dropdown menu.
- Once you have opened the playlist, tap on the “Add songs” button.
- A search bar will appear where you can type in the name of the song or artist you want to add to the playlist.
- Tap on the song or artist from the search results to add it to your playlist.
- If you want to add multiple songs at once, you can tap on the “Add all songs” button next to the search results.
- Continue searching and adding songs until you have added all the songs you want to the playlist.
- Once you have finished adding songs, tap on the “Done” button to save your changes.
Congratulations! You have successfully added songs to your playlist in Google Play. You can now enjoy your customized playlist whenever you want to listen to music.
Step 6: Customize Your Playlist
Now that you have created your playlist in Google Play, it’s time to customize it to make it truly your own. Here are a few ways you can personalize your playlist:
- Add or remove songs: To add songs to your playlist, simply browse through the songs available in Google Play and click the “+” button next to the ones you want to include. If you want to remove a song from your playlist, click the “…” button next to the song and select “Remove from playlist.”
- Reorder songs: If you want to change the order of the songs in your playlist, simply click and drag them to the desired position.
- Edit song details: You can also edit the details of a song in your playlist. Click the “…” button next to the song and select “Edit details.” From here, you can change the song title, artist, album, and more.
- Add album art: To add album art to your playlist, you can either upload your own image or choose from the available options in Google Play. Click the “…” button next to the playlist and select “Edit playlist details.” Scroll down to the “Album art” section and click “Add image” to upload your own image or select from the available options.
- Change playlist name: If you want to change the name of your playlist, click the “…” button next to the playlist and select “Edit playlist details.” Then, simply enter the new name in the “Playlist name” field.
By customizing your playlist, you can create a personalized collection of songs that suits your taste and style. Have fun exploring the different customization options available in Google Play!
Step 7: Save and Enjoy Your Playlist
Once you have finished adding songs to your playlist and arranging them in the desired order, it’s time to save your playlist and start enjoying it. Here’s how to do it:
- Click on the “Save” button located at the top right corner of the playlist screen. This will save your playlist and make it available for future listening.
- If you want to give your playlist a custom name, click on the “Edit” button next to the playlist title and enter the desired name in the provided field.
- You can also add a description to your playlist by clicking on the “Edit” button next to the playlist title and entering the desired description in the provided field.
- After saving your playlist, you can access it anytime by going to the Google Play Music homepage and selecting the “Library” tab. From there, you can find your playlist under the “Playlists” section.
Now that your playlist is saved, you can enjoy listening to it whenever you want. Simply click on the playlist title to open it, and then click on the play button to start playback. You can also skip songs, adjust the volume, and create a queue of songs to play next.
Remember that your saved playlist will be stored in your Google Play Music account, so you can access it from any device where you are signed in with your account. This allows you to enjoy your playlist on your computer, smartphone, tablet, or any other compatible device.
Creating a playlist in Google Play Music is a convenient way to organize and save your favorite songs, albums, and artists. Whether you want to create a playlist for a workout, a road trip, or just for everyday listening, following the step-by-step guide above will help you create the perfect playlist tailored to your musical preferences.