
Creating unique and eye-catching videos has never been easier with the iMovie app on your iPhone. This powerful video editing tool offers a wide range of features, including the ability to reverse video clips. Reversing a video can add a captivating and unexpected twist to your footage, and it’s surprisingly simple to do with iMovie on your iPhone.
If you’re new to iMovie or just want a step-by-step guide on how to reverse a video clip, you’ve come to the right place. In this article, we’ll walk you through the process and show you how to effortlessly reverse a video using iMovie on your iPhone.
To get started, open the iMovie app on your iPhone and create a new project. Import the video clip you want to reverse into your project by tapping on the “+” icon and selecting the video from your camera roll. Once the clip appears in your project timeline, tap on it to bring up the editing options.
Step 1: Tap on the gear icon located at the bottom of the screen to access the clip settings.
Step 2: In the clip settings menu, you’ll see various options. Tap on the “Reverse” option to reverse the video clip.
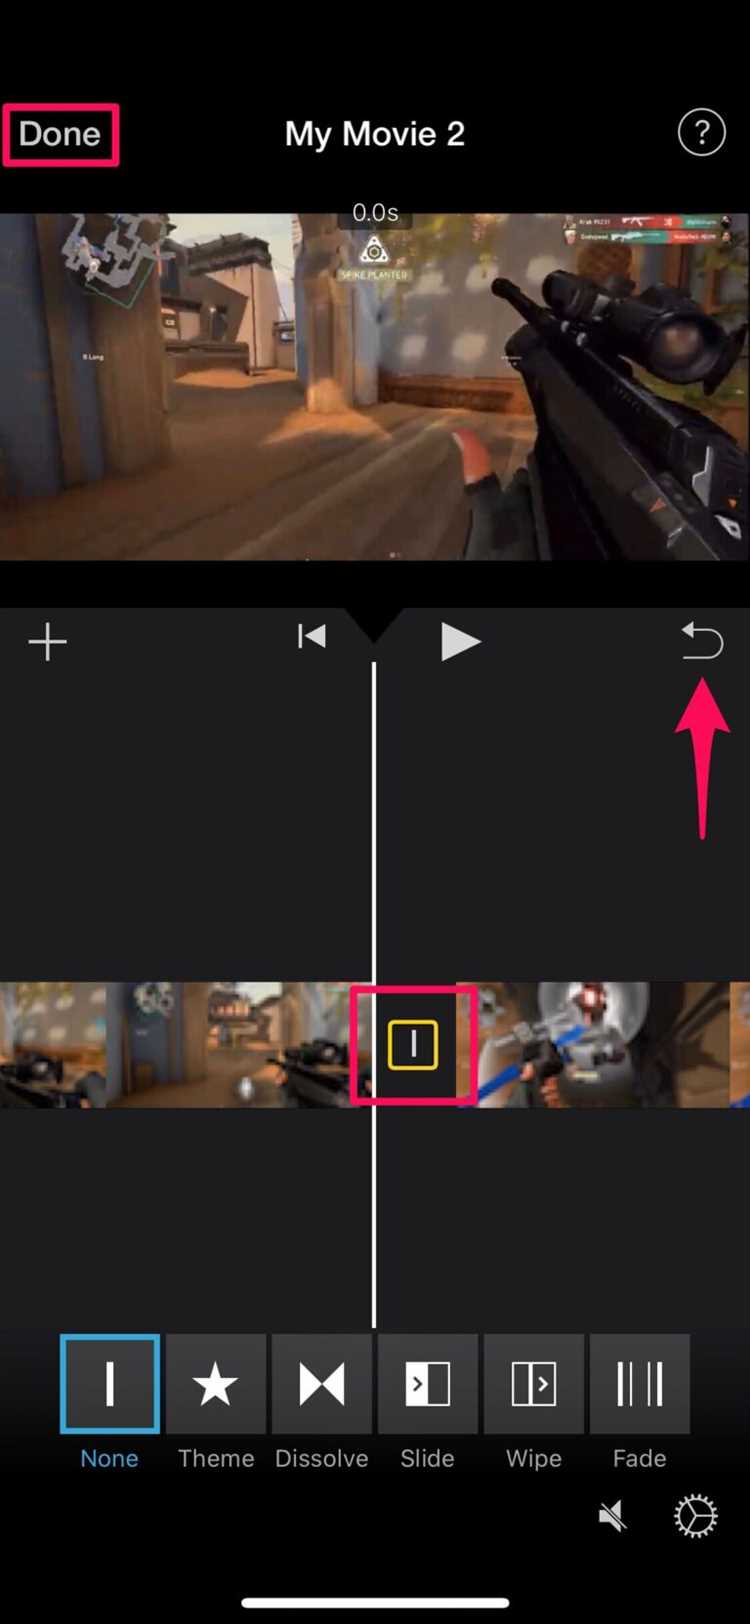
Once you’ve reversed the video clip, you can preview it by tapping on the Play button. If you’re satisfied with the result, simply tap on the “Done” button to apply the changes. You can also make further adjustments to the clip, such as trimming or adding transitions, before finalizing your video.
Reversing a video on iMovie iPhone allows you to unleash your creativity and add a unique touch to your videos. Whether you want to create a mesmerizing rewind effect or simply experiment with different visual styles, iMovie makes it easy to achieve stunning results. So go ahead and give it a try – you’ll be amazed at the possibilities that await you!
What is iMovie?
iMovie is a video editing software developed by Apple Inc. It is available for iPhone, iPad, and Mac devices. With iMovie, users can create professional-looking videos by simply dragging and dropping media files onto a timeline.
Some of the main features of iMovie include:
- Easy-to-use Interface: iMovie has a user-friendly interface that allows users to easily navigate through the software.
- Video Editing Tools: iMovie provides a wide range of video editing tools such as trimming, splitting, and merging clips, adding transitions and effects, adjusting audio levels, and more.
- Themes and Templates: iMovie offers a variety of pre-designed themes and templates that users can apply to their videos to give them a polished and professional look.
- Audio Editing: iMovie allows users to edit and enhance the audio of their videos, including adding background music, adjusting volume levels, and applying audio effects.
- Sharing Options: Once the video is edited, users can easily share their creations directly from iMovie to social media platforms, email, or save them to their device.
Whether you’re a beginner or an experienced video editor, iMovie provides the tools and features needed to create high-quality videos. Its intuitive interface and robust editing capabilities make it a popular choice among iPhone users for editing videos on the go.
Why would you want to reverse a video on iMovie iPhone?
Reversing a video can add a unique and creative touch to your videos. It can be used for various purposes, including:
- Creative effects: Reversing a video can create interesting visual effects, such as objects moving backwards or flowing in reverse.
- Storytelling: Reversing a video can be used to tell a story in a different way by showing events in reverse order.
- Highlighting specific moments: Reversing a video can help emphasize specific moments, making them more memorable and eye-catching.
- Adding a comedic element: Reversing a video can add a comedic touch by creating unexpected and humorous visual effects.
- Exploring artistic possibilities: Reversing a video can be a way to explore your creativity and experiment with different visual styles.
With iMovie on iPhone, reversing a video is easy and can be done without any professional editing skills. It allows you to unleash your creativity and enhance your videos in unique and interesting ways.
Step 1: Open iMovie
To reverse a video on iMovie using an iPhone, the first step is to open the iMovie app on your iPhone. iMovie is a video editing application developed by Apple and is available for free on the App Store. If you don’t have iMovie installed, you can download it from the App Store.
To open iMovie, find the iMovie icon on your home screen and tap on it. The icon is a white star on a dark purple background. Once you tap on the iMovie icon, the app will open, and you will be taken to the Projects screen.
The Projects screen is where you can see all of your existing iMovie projects or create new ones. If you have previously worked on iMovie projects, you will see them listed on this screen. To start a new project, tap on the “Create Project” button at the bottom of the screen.
Locate the iMovie app on your iPhone
In order to reverse a video on iMovie on your iPhone, you first need to locate the iMovie app on your device. Follow the steps below to find the app:
- Unlock your iPhone by entering your passcode or using Face ID/Touch ID.
- Swipe your finger from left to right on your home screen to access the app library or swipe down on your home screen and type “iMovie” into the search bar at the top of the screen.
- Tap on the iMovie icon when you locate it.
If you cannot find the iMovie app on your home screen or in the app library, it is possible that you may have accidentally deleted it. In this case, you can redownload iMovie from the App Store by following these steps:
- Open the App Store on your iPhone.
- Tap on the search bar at the bottom of the screen and type “iMovie”.
- Locate the iMovie app in the search results and tap on it.
- Tap on the “Get” or “Download” button to download and install the app on your iPhone.
Once you have successfully located the iMovie app on your iPhone, you can proceed with reversing a video using the steps provided in the rest of this guide.
Tap on the iMovie app to open it
To reverse a video on iMovie for iPhone, you need to start by tapping on the iMovie app to open it. If you don’t have the iMovie app installed on your iPhone, you can download it from the App Store.
Step 2: Start a new project
Once you have opened the iMovie app on your iPhone, you will see the Projects tab at the bottom of the screen. Tap on it to access your existing projects, or to start a new one.
To start a new project, tap on the “+” button located on the top-right corner of the screen. This will open the Create Project menu, where you can select the aspect ratio, resolution, and frame rate for your project.
Choose the desired settings for your project and tap on the “Create Movie” option to continue.
Give your project a name by tapping on the default project name at the top of the screen. Enter a new name and tap on the “Done” button to save it.
Once you have created and named your new project, you will be directed to the project interface where you can begin editing your video.
Remember to save your progress regularly by tapping on the floppy disk icon at the top-right corner of the screen.
Tap on the “+” icon to create a new project
Creating a new project in iMovie iPhone is a simple and straightforward process. To begin, open the iMovie app on your iPhone and follow the steps below:
- Launch the iMovie app from your iPhone’s home screen.
- Tap on the “+” icon in the top-left corner of the screen.
- A menu will appear with different options. Tap on the “Movie” option to create a new movie project.
- Next, you will be prompted to choose a video template. You can select a template or choose “No Theme” for a blank project.
- After selecting a template or “No Theme,” tap on the “Create Movie” button.
By following these steps, you have successfully created a new project in iMovie on your iPhone.
Choose the “Movie” option
After launching iMovie on your iPhone, tap on the “Create Project” button to start a new project. On the next screen, you will be presented with different project types.
Choose the “Movie” option from the list of project types. This will allow you to create a new project where you can edit and manipulate your video in various ways, including reversing it.
If you are working with an existing project, you can select it from the list of projects shown on the screen and then tap on the “Edit” button to modify it.
Step 3: Import your video
Once you have opened iMovie on your iPhone, follow these steps to import your video:
- Tap on the plus sign (+) button to create a new project.
- Select “Movie” from the options.
- Tap on “Create Movie” to start a new project.
- Tap on the “Media” button at the bottom of the screen.
- Choose “Videos” from the menu that appears.
- Navigate to the location where your video is stored (e.g., Camera Roll, Albums, etc.).
- Select the video you want to reverse and tap on the “Import” button.
Your video will now be imported into the iMovie project, and you will be able to see it in the timeline at the bottom of the screen. You can continue with the next steps to reverse your video.
Tap on the “+” icon in the timeline
To reverse a video on iMovie for iPhone, you need to follow a few simple steps. Once you have opened the iMovie app on your iPhone and selected the project you want to work on, you will see the timeline at the bottom of the screen. To reverse a video clip, you will need to tap on the “+” icon located in the timeline.
By tapping on the “+” icon, a menu will appear with various editing options. This menu allows you to add different elements to your project, including photos, videos, audio, and more. To reverse a video, you will need to select the video clip you want to reverse using the appropriate option from this menu.
After selecting the video clip, it will be added to your project and appear in the timeline. Now, to reverse the video clip, you will need to tap on the clip in the timeline to select it. Once selected, a set of editing options will appear above the timeline.
Among these editing options, you will find the “Reverse Clip” option. To reverse the video clip, simply tap on the “Reverse Clip” option. iMovie will then process the reverse effect and apply it to the selected video clip. You can preview the reversed video clip by tapping on the play button located above the timeline.
Remember to save your changes by tapping on the “Done” button in the top-left corner of the screen. Once you’ve tapped “Done,” your reversed video clip will be saved and ready for further editing or sharing.
FAQ:
Can I reverse a video on iMovie iPhone?
Yes, you can reverse a video on iMovie for iPhone. It is a simple and straightforward process.
How can I reverse a video on iMovie iPhone?
To reverse a video on iMovie for iPhone, you need to open the iMovie app, select the video you want to reverse, tap on the three dots at the bottom, and then tap on “Reverse”. The app will then start reversing the video.
Is there a limit on the length of the video that can be reversed on iMovie iPhone?
There is no specific limit mentioned for reversing a video on iMovie for iPhone. However, it may depend on the available storage space on your device and the processing power of your iPhone. Large videos may take longer to reverse and may require more storage space.
What happens to the audio when a video is reversed on iMovie iPhone?
When you reverse a video on iMovie for iPhone, the audio is also reversed along with the video. This means that any speech or background music will be played in reverse. If you want to revert the audio back to its original direction, you would need to separately reverse the audio clip in iMovie.
Can I adjust the playback speed of a reversed video on iMovie iPhone?
No, iMovie for iPhone does not have an option to adjust the playback speed of a reversed video. The playback speed of the reversed video will be the same as the original video. If you want to change the playback speed, you would need to export the reversed video from iMovie and use a different video editing software that supports adjusting playback speed.