
Are you the lucky recipient of a gift card for Facebook? If so, you’re in for a treat! Facebook gift cards are a great way to enjoy the platform’s many features and services, from purchasing items in online shops to playing games and supporting your favorite creators. In this step-by-step guide, we’ll walk you through the process of using your gift card on Facebook, so you can make the most of your present.
Step 1: Check your gift card balance
Before diving into the world of Facebook, it’s a good idea to check the balance on your gift card. Most gift cards come with a number or code that you can enter on Facebook’s website or mobile app to see the available balance. This way, you’ll know exactly how much you have to spend on the platform and can plan your purchases accordingly.
Step 2: Redeem your gift card
Once you’ve confirmed your gift card balance, it’s time to redeem it on Facebook. To do this, go to the “Settings” section of your account and find the “Payments” tab. Here, you should see an option to “Add Payment Method.” Click on this option and select “Gift Card” as your payment method. Enter the gift card number or code when prompted and follow the instructions to complete the redemption process.
Step 3: Explore the possibilities
Now that your gift card is successfully redeemed, it’s time to start exploring the many ways you can use it on Facebook. Whether you’re a avid gamer, a shopaholic, or a social media enthusiast, there’s something for everyone on the platform. Take some time to browse through the different features and services available and start enjoying the benefits of your gift card!
Pro Tip: Some gift cards may have restrictions on what can be purchased or redeemed on Facebook. Be sure to read the terms and conditions that come with your gift card to avoid any surprises.
With this step-by-step guide, you’ll be able to make the most of your Facebook gift card and enjoy all that the platform has to offer. Whether you’re looking to shop, play games, or connect with friends and family, your gift card will provide you with endless possibilities. So go ahead, dive into the Facebook world and have fun!
Creating a Facebook Account
Before you can use a gift card on Facebook, you need to have a Facebook account. Follow these steps to create one:
- Open your web browser and go to the Facebook homepage.
- On the homepage, you will see a sign-up form. Fill in your details, including your name, email or phone number, password, date of birth, and gender.
- Click on the “Sign Up” button to proceed.
- Facebook will then send a verification code to the email or phone number you provided. Check your inbox and enter the verification code when prompted.
- Once your account is verified, you will be asked to add friends. You can skip this step if you prefer.
- Next, you can add a profile picture to personalize your account. You can either upload a photo from your computer or take a new one using your webcam.
- After adding a profile picture, Facebook will provide suggestions for pages you may like. You can like these pages or skip this step.
- The final step is to confirm your email address. Facebook will send an email to the address you provided with a confirmation link. Click on the link to verify your email.
Congratulations! You have successfully created a Facebook account and can now use a gift card to make purchases on the platform.
Accessing the Gift Card Section
Using a gift card on Facebook is a quick and easy process. To get started, follow these steps to access the gift card section:
- Open your web browser and go to the Facebook website (www.facebook.com).
- Log in to your Facebook account using your email address or phone number and password.
- Once logged in, click on the “Down Arrow” icon located at the top-right corner of the screen. This will open a dropdown menu.
- In the dropdown menu, click on the “Settings & Privacy” option.
- From the settings menu, click on the “Gift Cards” option. This will take you to the Gift Cards section on Facebook.
Alternatively, you can also access the gift card section directly by typing “www.facebook.com/giftcards” in the address bar of your web browser.
Once you have accessed the gift card section on Facebook, you can proceed to redeem your gift card or purchase a new one.
Choosing a Gift Card Type
When using a gift card on Facebook, you have a few different options to choose from. Each type of gift card has its own benefits and features, so it’s important to choose the one that best suits your needs.
1. Facebook Gift Card: This is a traditional gift card that can be used to make purchases on Facebook. It can be used for a variety of things, including buying virtual goods, digital content, and even physical merchandise. The Facebook gift card can also be used as a payment method for Facebook ads.
2. Digital Gift Card: A digital gift card is an electronic version of a traditional gift card. It can be purchased online and sent directly to the recipient via email or text message. Digital gift cards are a convenient option for last-minute gifts or when you want to avoid shipping fees.
3. Third-Party Gift Cards: In addition to Facebook gift cards, you can also use third-party gift cards to make purchases on Facebook. Many popular retailers offer gift cards that can be used on Facebook, such as Amazon, iTunes, and Walmart. These gift cards can often be purchased at a discount or as part of a promotional offer, making them a cost-effective option.
4. Game Gift Cards: If you or the recipient of the gift card are avid gamers, you may consider using a game gift card on Facebook. These gift cards are specifically designed for gaming platforms and can be used to make in-app purchases, buy game credits, or unlock special features in various games on Facebook.
When choosing a gift card type, consider factors such as the recipient’s interests and preferences, the purpose of the gift card, and any budget constraints. By selecting the right gift card type, you can ensure that the recipient enjoys their gift and gets the most out of it on Facebook.
Selecting a Gift Card Value
When purchasing a gift card on Facebook, the first step is to choose the value of the card. This will determine how much money is loaded onto the card and can be redeemed by the recipient.
Here are some key points to consider when selecting a gift card value:
- Budget: Determine how much you are willing to spend on the gift card. Consider factors such as your relationship with the recipient and the occasion for the gift.
- Minimum and Maximum Amounts: Check if there are any minimum or maximum value restrictions set by Facebook for gift cards.
- Gift Preferences: Think about the recipient’s preferences and interests. If they have a specific store or brand they like, you may want to choose a gift card from that retailer.
- Flexibility: Some gift cards offer flexibility in terms of where they can be used. For example, a Visa or Mastercard gift card can be used at any retailer that accepts these card networks.
Once you have considered these points, follow these steps to select a gift card value on Facebook:
- Visit the Facebook Gift Cards page.
- Select the type of gift card you want to purchase (digital or physical).
- Choose the value of the gift card from the available options or enter a custom amount.
- Click on the “Add to Cart” or “Buy Now” button to proceed with the purchase.
Remember to double-check the selected gift card value before completing the purchase to ensure it matches your intentions. Once the purchase is complete, the gift card will be ready to be delivered to the recipient, whether via email or by mail.
Adding a Personal Message
When using a gift card on Facebook, you have the option to add a personal message along with it. This is a great way to make the gift card feel more personal and thoughtful. Follow these steps to add a personal message:
- First, go to the Facebook Gift Card Center.
- Choose the gift card you want to send.
- On the gift card preview page, you will see a field labeled “Add a personal message.”
- Click on the field and type in your message. You can include anything you want, such as a birthday wish or a heartfelt message.
- After typing your message, review it to make sure it is exactly how you want it. You can also use formatting options such as bold or italicize to make your message stand out.
- Once you are satisfied, click on the “Next” button to proceed with the gift card purchase.
Adding a personal message shows the recipient that you put thought into the gift card and adds a personal touch. It can make the gift card even more meaningful and appreciated. So, take the time to add a heartfelt message when using a gift card on Facebook.
Entering Recipient Details
After selecting the gift card and choosing the desired amount, you will need to enter the recipient’s details.
Step 1: Fill in the recipient’s name in the designated field. Make sure to enter it correctly to avoid any confusion.
Step 2: Provide the recipient’s email address. Double-check the email address to ensure it is accurate as this is where the gift card will be sent.
Step 3: If available, you may also have the option to add a personal message. This can be a heartfelt note or any special instructions you want to include with the gift card.
Step 4: Review the entered recipient details to make sure everything is correct. Take a moment to verify the name, email address, and any personal message you added.
Step 5: Once you are satisfied with the entered recipient details, click on the “Next” or “Continue” button to proceed to the next step of the gift card purchase process.
By providing accurate and complete recipient details, you ensure that the gift card reaches the intended recipient and any personalized message is delivered as intended.
Remember, it’s always a good idea to double-check the recipient’s details to avoid any issues or delays with the gift card delivery.
Making the Payment
Once you have added items to your cart and are ready to make the payment using your gift card, follow these steps:
- Click on the cart icon located at the top right corner of the Facebook page.
- Review the items in your cart and click on the Checkout button.
- On the payment page, select the option to use a gift card as the payment method.
- Enter the gift card number and PIN in the provided fields. Make sure to double-check the information for accuracy.
- Click on the Apply button to apply the gift card to your purchase.
- If the gift card balance is sufficient to cover the total cost of your purchase, you will see a confirmation message. Otherwise, you may be prompted to choose an alternative payment method to cover the remaining balance.
- Review your order details one last time and click on the Place Order button to complete the payment process.
Note that the gift card balance will be deducted from the total amount of your purchase. If the balance is not sufficient to cover the entire cost, you will need to provide an additional payment method to cover the remaining balance.
Delivering the Gift Card
Once you have purchased a Facebook gift card, it’s time to deliver it to your intended recipient. There are several options available for delivering the gift card, depending on the preferences of both you and the recipient.
Here are some ways to deliver the gift card:
- Email delivery: You can choose to deliver the gift card via email. This is a convenient option if you have the email address of the recipient. Simply enter their email address during the purchase process, and they will receive an email containing the gift card details.
- Print at home: If you prefer a physical gift card, you can choose the option to print it at home. After completing the purchase, you will receive a printable version of the gift card. Simply print it out and deliver it to the recipient in person.
- Shipping: Facebook also offers the option to ship the gift card directly to the recipient. This is a great choice if you want to surprise someone or if you are unable to deliver the gift card in person. Enter the recipient’s address during the purchase process, and Facebook will send the gift card to them.
Regardless of the delivery option you choose, it’s important to ensure that the recipient receives the gift card. Double-check the email address or shipping address before finalizing the purchase to avoid any issues.
Once the gift card has been delivered, the recipient can use it to make purchases on Facebook. They will receive instructions on how to redeem the gift card and can start enjoying their online shopping experience.
Please note that Facebook gift cards can only be used on Facebook and not on other websites or platforms.
FAQ:
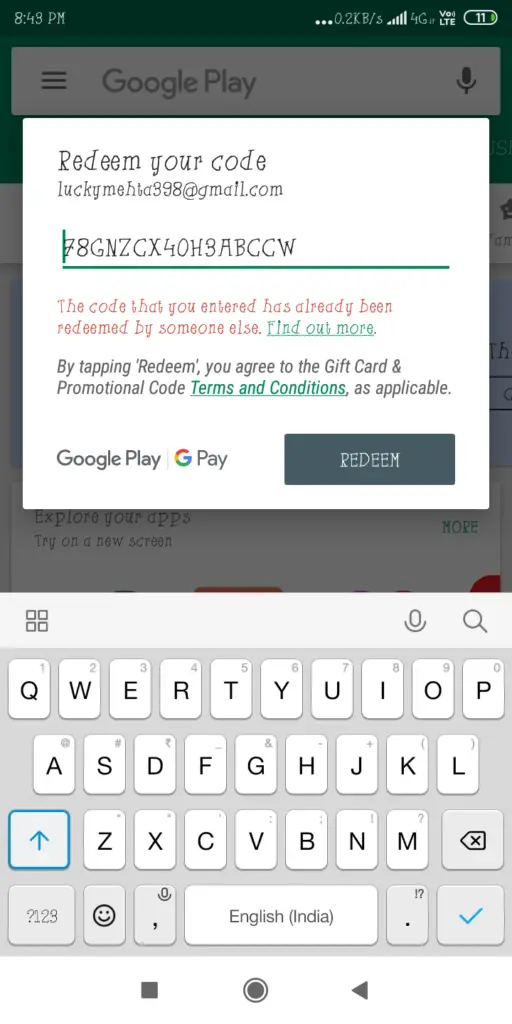
Where can I find the gift card code to use on Facebook?
The gift card code is usually found on the physical gift card itself. It is a combination of numbers and/or letters. If you have received a digital gift card, the code may be provided in an email or a separate document. You can also check the back of the card or the packaging it came in for instructions on where to find the code.
What can I purchase with a gift card on Facebook?
With a gift card on Facebook, you can purchase a variety of items and services, such as virtual goods in games, Facebook’s premium subscriptions, or advertising services to promote your business. The specific options may vary, so it is best to check Facebook’s payment options or contact their support for more information.
Can I use multiple gift cards on Facebook?
Yes, you can use multiple gift cards on Facebook. When adding a payment method on Facebook, you can enter the codes of multiple gift cards to apply their values to your account. This can be useful if you have multiple gift cards with small balances or if you want to use different gift cards for different transactions.