
Canceling your CenturyLink account can sometimes be a daunting task, but with the right guidance, it can be a smooth and straightforward process. Whether you have decided to switch to a different service provider or no longer require CenturyLink’s services, this step-by-step guide will walk you through the cancellation process.
Before diving into the cancellation process, it is important to be aware of any potential fees or penalties that may be associated with terminating your CenturyLink account. Take the time to review your service agreement or contact CenturyLink customer service to understand the financial implications of canceling your account.
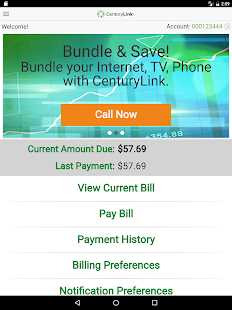
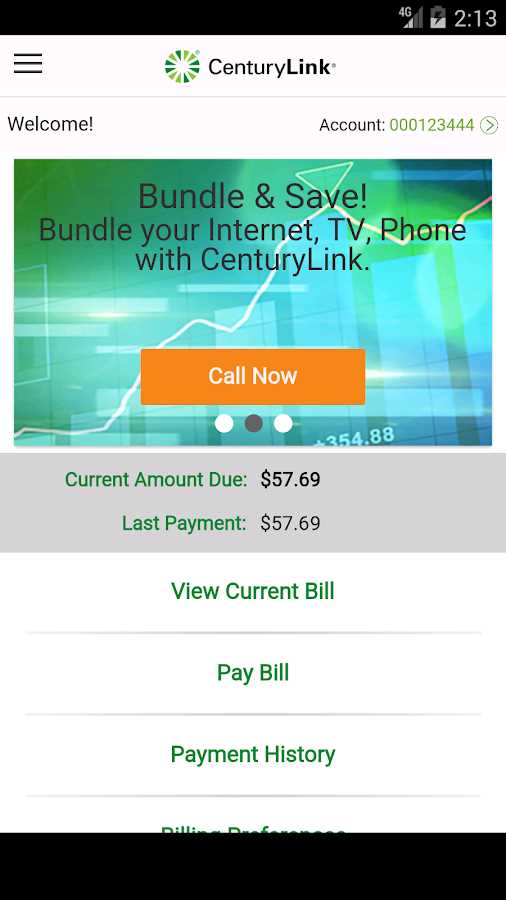
Once you are aware of any potential fees, the first step in canceling your CenturyLink account is to gather all the necessary information. This includes your account number, billing address, and any other relevant details. It is important to have this information readily available as it will be needed during the cancellation process.
Next, contact CenturyLink’s customer service department either through phone or online chat to initiate the cancellation. Be prepared to provide the representative with the necessary information and explain your reason for canceling. The representative will guide you through the remaining steps of the cancellation process, which may include returning any equipment or settling any outstanding balances.
In conclusion, canceling your CenturyLink account doesn’t have to be a complicated process. By understanding any potential fees, gathering the necessary information, and contacting customer service, you can ensure a smooth cancellation experience. Remember to take note of any confirmation numbers or email receipts you receive during the process for future reference.
Step 1: Gather necessary information
Before you start the process of canceling your CenturyLink account, it’s important to gather the necessary information to make the process go smoothly. Here are the key details you’ll need:
- Account number: Locate your CenturyLink account number, which can typically be found on your billing statement or online account.
- Account holder information: Make sure you have the primary account holder’s name, address, and contact information handy.
- Remaining balance: Take note of any remaining balance on your account, as you may be required to settle this before canceling.
- Contract details: If you have a contract with CenturyLink, find out the terms and conditions regarding cancellation fees or early termination charges.
- Equipment details: Identify any CenturyLink equipment (such as modems or routers) that you need to return after canceling your account.
- Cancellation request date: Decide on the desired date when you would like your CenturyLink services to be terminated.
Gathering this information in advance will help ensure a smooth cancellation process and avoid any potential delays or issues. It’s essential to be well-prepared before contacting CenturyLink to cancel your account.
Step 2: Contact customer service
Once you have gathered all the necessary information and documents, it is time to contact CenturyLink customer service to cancel your account. There are several ways you can reach out to them:
- Phone: You can call CenturyLink’s customer service hotline at 1-800-244-1111. Follow the prompts to speak with a representative and explain that you want to cancel your account. Be prepared to provide them with your account details and any other relevant information they may require.
- Online chat: If you prefer not to call, you can try using CenturyLink’s online chat feature. Visit their website and look for the chat option. Provide the necessary details and explain that you want to cancel your account. The representative will assist you through the process.
- Mail: If you prefer a more traditional method, you can send a written request to cancel your account via mail. Write a letter stating your intention to cancel and include your account details. Mail the letter to CenturyLink’s customer service address, which can be found on their website or billing statements.
Regardless of the method you choose, it is important to keep a record of your communication with CenturyLink for future reference. Take note of the date, time, and the name of the representative you spoke with. This will help in case of any issues or disputes that may arise during the cancellation process.
Once you have successfully contacted CenturyLink and initiated the cancellation process, they will guide you through any additional steps or requirements needed to complete the cancellation. Be sure to follow their instructions carefully to ensure a smooth cancellation process.
Step 3: Verify your account
Before canceling your CenturyLink account, it is important to verify your account to ensure that you are the account holder and authorize the cancellation.
To verify your account, you will need to provide the following information:
- Your full name: Provide your legal full name as it appears on your CenturyLink account.
- Account number: Locate your CenturyLink account number, which can typically be found on your monthly bill or account statement.
- Address: Provide the complete address associated with your CenturyLink account, including street name, city, state, and ZIP code.
Once you have gathered this information, you can proceed to the next step to cancel your CenturyLink account.
Step 4: Specify cancellation details
Once you have reached the customer support representative, it’s important to provide them with all the necessary information to cancel your CenturyLink account. Be sure to have the following details ready:
- Account Information: Provide your account number, account name, and any other identifying details that the representative may require to locate your account.
- Cancellation Reason: Clearly state the reason for cancelling your CenturyLink account. This information will help the representative understand your needs better and potentially offer alternative solutions if available.
- Effective Date: Specify the date when you want your cancellation to take effect. This can be immediate or at a specific future date.
- Return Equipment: If you have any CenturyLink equipment (such as modems or routers), make sure to ask the representative about the return process and any associated costs or instructions.
- Final Billing: Inquire about the final bill and any outstanding balances on your account. Ensure that you understand the payment due date and any potential fees or penalties.
By providing all the necessary information and asking the right questions, you can make the cancellation process smoother and ensure that there are no misunderstandings. Take note of any confirmation numbers or reference numbers given to you by the customer support representative for future reference.
Step 5: Return equipment
Once you have canceled your CenturyLink account, it’s important to return any equipment you have rented from them. This includes devices such as modems, routers, and set-top boxes.
Returning the equipment is necessary to avoid any additional charges or fees. Most often, CenturyLink will provide you with a prepaid shipping label or arrange for a technician to pick up the equipment from your location. You can contact their customer service to determine the preferred method for returning the equipment.
Before returning the equipment, make sure to clean it and remove any personal information or data stored on it. This is especially important if you have a router or modem that may have your Wi-Fi network name and password saved.
Once you have packaged the equipment according to the instructions provided by CenturyLink, affix the prepaid shipping label if provided or wait for the technician to pick it up. Make sure to keep a record of the return, such as a tracking number or receipt, in case any issues arise.
Returning the equipment promptly will ensure that you are not billed for the unreturned items and will help expedite the closure of your CenturyLink account.
Step 6: Confirm cancellation
Once you have provided all the necessary information and made the final decision to cancel your CenturyLink account, it is important to confirm the cancellation to ensure that everything is in order.
To confirm your cancellation, follow these steps:
- Check for any outstanding balance on your account. Make sure that all pending payments have been made.
- Review the terms and conditions of your contract to understand any potential consequences of canceling your account. Take note of any termination fees or equipment return requirements.
- Contact CenturyLink customer service through their designated cancellation hotline, email, or online chat support. Provide them with your account information and request confirmation of cancellation.
- Listen carefully to the customer service representative and confirm that your account has been successfully canceled. Ask for a confirmation number or email for your records.
- Ensure that you return any rented equipment, such as modems or routers, to avoid additional charges.
- Double-check your final bill to ensure that it reflects the cancellation of your account. If there are any discrepancies, contact customer service immediately.
By following these steps and confirming your cancellation, you can have peace of mind knowing that your CenturyLink account has been successfully closed.
Step 7: Set up new service (if desired)
If you’ve decided to cancel your CenturyLink account but still need internet or phone service, you’ll need to set up a new service with another provider. Follow these steps to set up new service:
- Research different providers: Look for alternative internet or phone service providers in your area. Consider factors such as pricing, speed, reliability, and customer support.
- Compare plans: Compare the plans offered by different providers to find one that meets your needs. Look for packages that include the services you require at a reasonable price.
- Contact the new provider: Once you’ve selected a provider, contact them to inquire about their services and initiate the setup process. They will guide you through the necessary steps and provide you with information on what documents or equipment may be needed.
- Schedule installation: If applicable, schedule an installation appointment with the new provider. They will send a technician to set up the necessary equipment and ensure that your new service is up and running smoothly.
- Transfer or set up equipment: If you already have equipment from your previous provider, such as a modem or router, check if it is compatible with your new service. If not, the new provider may provide you with the necessary equipment or guide you on purchasing the right devices.
- Activate your new service: Once the installation is complete or any necessary equipment is set up, contact the new provider to activate your service. They will provide you with any login details or instructions needed to get started.
- Test your new service: After your new service is activated, test it to ensure everything is working correctly. Check your internet connectivity or make a test phone call to confirm that the new service is functioning as expected.
Remember to cancel your CenturyLink account once your new service is up and running to avoid any overlapping charges or unnecessary fees.
Step 8: Follow up with billing
Once you have successfully canceled your CenturyLink account, it’s important to follow up with the billing department to ensure that you are no longer being charged for services you no longer have. Here are the steps to follow:
- Contact CenturyLink’s billing department: Call the customer service number provided on your billing statement or visit the CenturyLink website to find the appropriate contact information for billing inquiries. It’s important to have your account information ready when you speak with a representative.
- Confirm cancellation details: Provide the representative with your account information and ask them to confirm that your account has been canceled. They should be able to provide you with any final billing amounts or outstanding balances that need to be resolved.
- Resolve any remaining balances: If there are any outstanding balances on your account, work with the billing representative to resolve them. This may involve paying the balance in full or setting up a payment plan.
- Ask for confirmation: Once your account has been settled and any outstanding balances have been resolved, ask the representative to provide you with confirmation in writing. This can be in the form of an email or a physical letter.
- Monitor your bank statements: After canceling your CenturyLink account and resolving any billing issues, it’s a good idea to monitor your bank statements in the following months to ensure that no further charges from CenturyLink appear.
By following these steps and actively addressing any billing concerns, you can ensure a smooth cancellation process with CenturyLink and avoid any unwanted charges in the future.
FAQ:
How can I cancel my CenturyLink account?
To cancel your CenturyLink account, you can call their customer service number and speak to a representative who will guide you through the cancellation process. Alternatively, you can also cancel your account online through their website by logging into your account and following the cancellation instructions.
Is there a fee for canceling my CenturyLink account?
There may be early termination fees associated with canceling your CenturyLink account, depending on the terms of your contract. It’s best to contact their customer service to get more information about any potential fees that may apply to your specific situation.
What happens to my email address if I cancel my CenturyLink account?
If you cancel your CenturyLink account, your email address associated with that account will no longer be accessible. It’s important to backup any important emails or contacts before canceling your account to avoid losing them.
Can I keep my phone number if I cancel my CenturyLink account?
If you wish to keep your phone number after canceling your CenturyLink account, you can request to transfer it to another service provider. This process is known as porting your number. However, it’s important to check with the new service provider to ensure they can accommodate the transfer before canceling your CenturyLink account.